background

Showing posts with label cookies. Show all posts

Wednesday, August 29, 2012

Bridal Shower "L" Cookies

 
 lemon butter cookies

For the bridal shower I also made scalloped circle cookies with a cursive "L" on them for the bride-to-be. I used a lemon butter cookie recipe from a "Southern Living" magazine my co-worker reads.  She saw these really cute valentine cookies in the magazine (a while ago) and brought the magazine in for me because she immediately thought of me when she saw them. It was really sweet of her...so I just had to try out the recipe and give her some.  Now I've saved the recipe and use it when I want to change things up from my usual shortbread cookie recipe. I thought these would be perfect for the bridal shower because they'd go with the lemon cupcakes.

Since the shower colors were green and white, I colored most of the royal icing green and left a little white for the letters and decorative dots.  I piped green circles about 1/4" from the edge of the cookie to create a dam for the green base. Once the dams set, I filled it with the green icing. While those were drying I worked on piping the "L" letters. I used the same technique as the spring flower cookies and created a template (trying my best to make a nice cursive "L"), cut out 1.5" squares of wax paper piped the "L" onto them with the template showing through under the wax paper. This helped me make them more uniform. Once the green base and the "L" letters dried, I used a little white icing to place the "L" letters onto each cookie. Then to add that extra decorative touch, I piped little dots around the green base. 

I loved the look of these cookies...so simple, yet elegant.   

Lemon Butter Cookie Recipe:

1c          butter, softened
1 tsp.     lemon zest
1c          powdered sugar
2c          all-purpose flour
1/2 tsp.  salt

Preheat oven to 325F. Beat butter and zest until creamy. Gradually add sugar, beat well. Combine flour and salt; gradually add to butter and sugar mixture, beating until blended. Shape dough into a disc. Roll dough to 1/8" thickness on a lightly floured surface. Cut into desired shapes with cookie cutter(s); place 1/2" apart on parchment paper lined cookie sheet. Bake for 12-14 minutes or until edges are lightly golden. Cool on racks and decorate!

Tuesday, April 24, 2012

Spring Flower Cookies

 spring flower cookies

Spring has finally arrived! Last weekend we had such beautiful weather and what better way to add some sunshine inside than making a colorful platter of flower shortbread cookies! Ok, I did get outside and enjoy the sunshine too...

For the cookies, I used the same dough as the Easter cookies (this shortbread cookie recipe from sweetopia). I also got the inspiration for this cookie from sweetopia. On the blog she made daisy cookies in which she made royal icing transfers.

First I made a template for my flower on a piece of wax paper, using edible marker, but looking back at it I could have just as easily drew it on a piece of paper and used a regular pen. I then suran wrapped over it to make it stay on the counter. I usually suran wrap my counter top to make a nice clean surface for me to work on...and it makes it so easy to clean up. Gotta love that costco suran wrap...it's practically endless!
Once I had my template. I cut out squares of wax paper for each flower and wiped some shortening on them so the flowers would easily come off. The wax paper is kind of opaque so the template shows thru nicely. I then piped the flowers on each piece of wax paper using pink, yellow, lavender and green royal icing. While the flowers were still wet I put a pearl sprinkle in the center of each one.
While the flowers were drying I piped a circle on the fluted circle cookies, leaving about a 1/8" border and filled with with white icing. Once the white set a little, I piped little dots with the correponding flower colors around the white circle to add a decorative touch. Then it was the moment of truth...I carefully peeled the flowers off the wax paper, piped a little icing on the back and adhered it to the center of the cookie.
With all the cookies together it looked like spring! It was so much fun making these and I really liked this technique of making icing transfers. Thanks again sweetopia!

Saturday, April 14, 2012

Happy Easter!

easter shortbread cookies

For Easter I decided to try out this shortbread recipe I found on the Sweetopia blog. She does the most amazing decorate cookies. I was really excited to try her shortbread cookie and icing recipes and compare them to the ones I've always used before. I have to admit I've been a little obsessed with her blog. I'm just in awe of how amazingly perfect her cookies are!  I strive to be as good of a cookie decorator as her...someday.

So, for Easter I decorated eggs!...egg shaped cookies that is. Using pastel pink, violet, yellow and green I decorated the eggs in white polk dots and flowers. I piped a little dam about 1/8" from the edge of the cookie then filled it in with corresponding colors. Before the base layer set I piped white polka dots. For the flowers I piped the yellow centers and five white dots (petals) around the center. I then took a toothpick and dragged the white dots in a semi-circular motion towards the yellow center to create petals. I found that shaking the cookie (gently) really helps the polka dots and flowers to settle in nicely into the base color to make a nice smooth finish. A toothpick is also a great tool to help pop any tiny air bubbles.

For the bunnies, I iced them all white and piped a little black eye using the wilton tube icing. I have to say, this has been great to have on hand because I don't have to make a little bit of black icing for tiny eyes (ie. the elephant cake). Black icing is not fun to make...it uses so much food coloring! For the tails I piped a little white tail, after the base layer set, and used yellow sanding sugar to add that fluffy tail texture and some color.

Sorry in the picture I only had one flower cookie left...I was a little delayed in getting my photoshoot together and some didn't make it to the shoot). But, I liked the polka dot ones better anyway. Needless to say I really enjoyed making these and the cookies taste great. They are more crumbly and delicate than the shortbread cookies I usually make but I love how light and melt in your mouth they are. The icing recipe was great too. Thanks Sweetopia!

Hope everyone had a happy Easter!

Saturday, March 17, 2012

Happy St. Patrick's Day!

 
 clover cookies

For St. Patty's Day I wanted to make these cute clover cookies I saw on Martha Stewart's website. I'm usually more of a shortbread than a sugar cookie fan, but I thought I'd give this recipe a try.  Plus, I haven't made sugar cookies in a really long time. I used the template from the website. However, since I couldn't just use paper to put on the cookies, I used a plastic disposal lid (had one laying around from a costco calzone container) to cut out the clover shapes. They worked out really well because the lip of the lid provided a nice handle to easily lift the stencil off the cookie.  Also, it's great because I can wash them and save them for next year!  I used a scalloped 3.5" circle cookie cutter to add a little decorative touch. My mother-in-law helped me sprinkle all the clovers on the cookies. (Thanks mom!)

I was suprised how well the clovers came out on the cookie and how little the sugar actually melted once baked.  After we baked them all up I packaged a few up in a clear cellophane bag and put a nice green bow on it for my Uncle's birthday. As for the rest of them...let's just say a leprechaun is a big fan of these cookies.

Happy Birthday Uncle Clay!

Sunday, January 1, 2012

Reindeer Cookies


  peanut butter reindeer cookies

ingredients for reindeer assembly

I saw these really cute reindeer cookies from the bakergirl blog (via pinterest) and just had to try and make them.  But I do have a confession, I didn't use her recipe. I used bettty crocker's packaged peanut butter mix (semi-homemade for a girl with time constraints).  Next time I will try her recipe though because I found the cookies didn't hold their shape as nicely as hers and weren't as smooth.  Nevertheless, they tasted just fine.

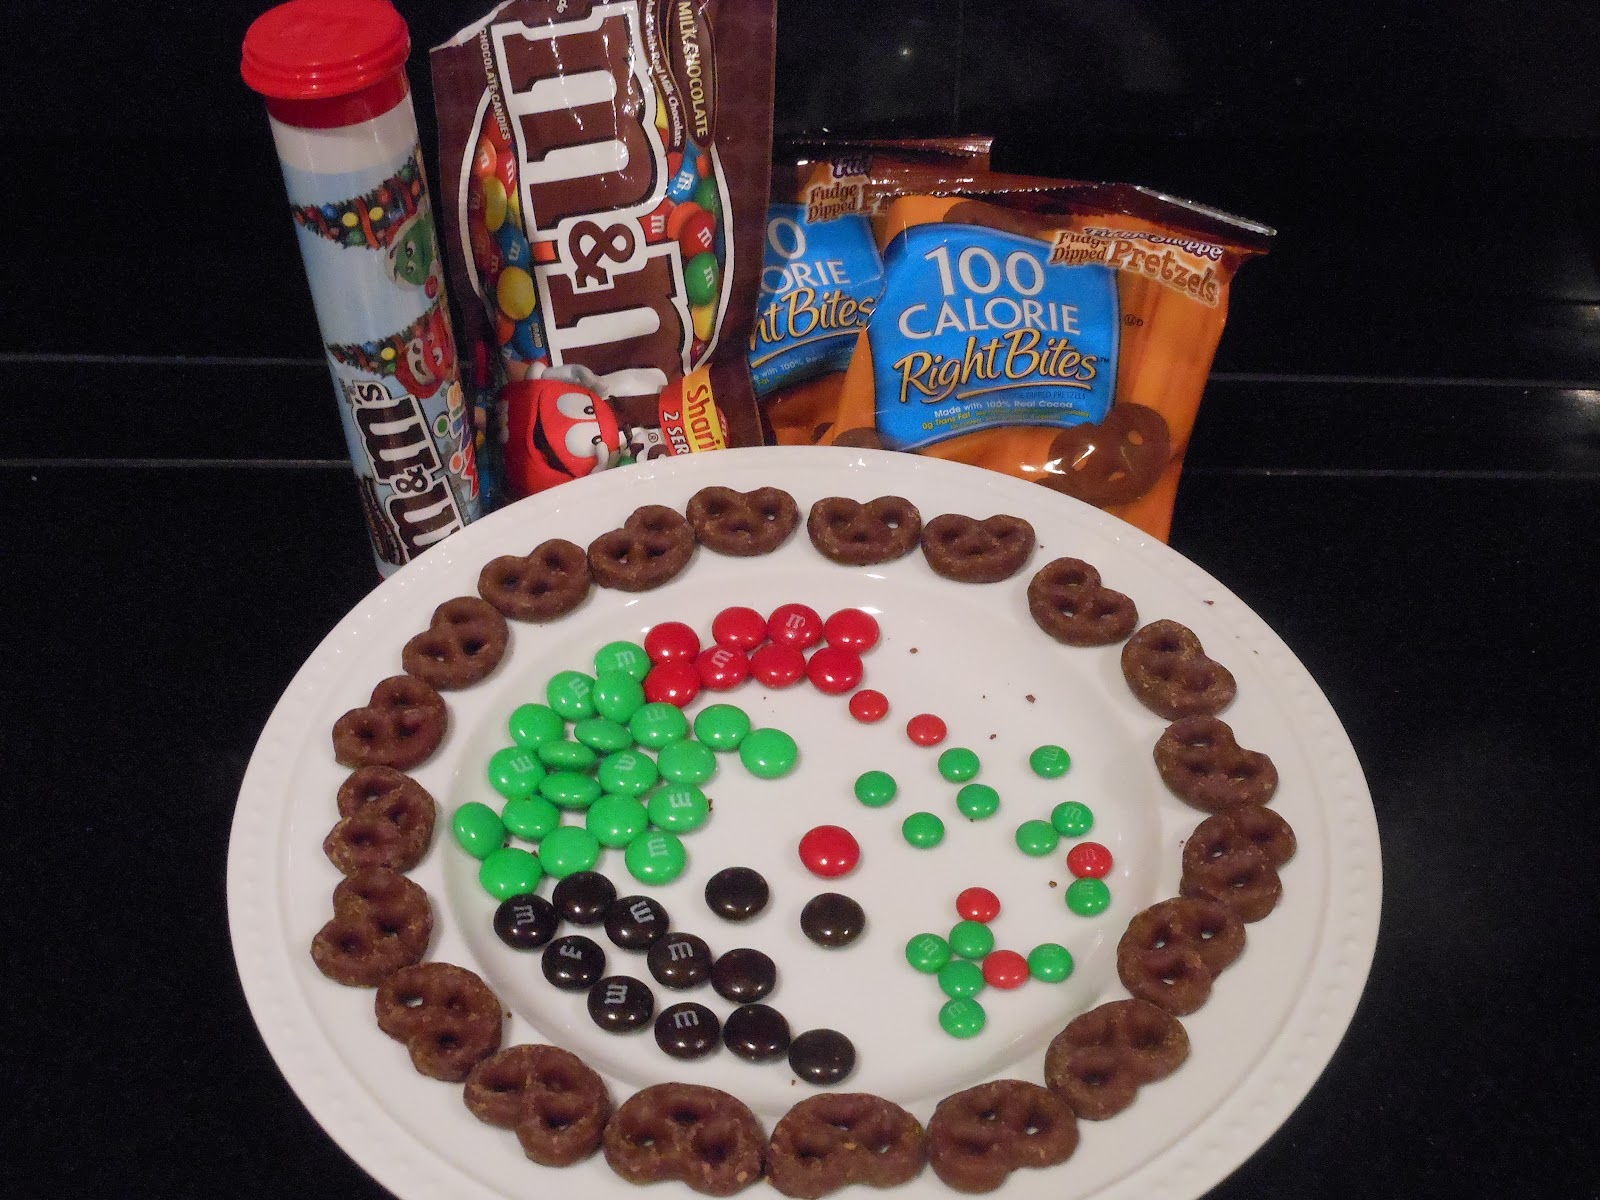
To make the faces I rolled the dough into approxiately 1" balls, pinched the bottom half of the dough ball and then flattened it a little with the palm of my hand.  I baked them according to the package directions and once I pulled them out of the oven (while they're still warm) I assembled the antlers and face.  I had some trouble finding the mini m&m's but found a bottle at Walgreen's.  The only problem was when I opened the bottle it was all red and green mini m&m's.  I needed mini brown ones for the eyes, but I was able to use the regular sized ones. I bought the larger bag of m&m's but there were only 9 red ones in the whole package, so there were a few with green noses. I did run out of brown ones too, but luckily I still had some reese's pieces from when I made the turkey cupcakes (see the "Happy Thanksgiving!" post).  The reese's pieces are a shade lighter than the brown m&m's but probably only I could tell the difference. 

Friday, December 30, 2011

Christmas cookies

 shortbread decorated snowflake
 shortbread decorated snowmen and mittens
(oops these weren't quite done...missing the fuzz on the bottom) 
 shortbread decorated polar bear
 shortbread decorated snowman
 gingerbread man
mini gingerbread girls and boys

Every year my sister and aunt get together and have a Christmas cookie baking weekend.  Here are some pics from our cookie baking bananza.  We make 10 different kinds of cookies (see "Merry Christmas!" post for a pic of all the cookies on a platter).  These cookies include shortbread decorated cookies, gingerbread men/girls/boys, chocolate krinkles, butterballs, toasted fingers, almond refrigerator cookies, coconut macaroons, rhonda rolls, gingerbread biscotti, and dolly bars.

For the shortbread cookies we make:
  • Snowflakes - white icing base with docorative white piping, sanding sugar and a silver peril in the middle
  • Snowmen - white base for the body, red or green scarves, green "x" buttons and a black hat with a holly on it (we used holly shaped sprinkles instead of piping)
  • Red mittens - red base with white piped decorative snowflake and using a grass tip we piped a white fuzzy bottom (sorry I forgot to get a picture of the mittens when we were done piping the fuzzy bottom part)
  • Polar bears - white base, docorative white piped snowflakes, sanding sugar and a holly/maile lei around his neck 
For the gingerbread people we make:
  • Gingerbread men - white icing for the face and hair, green scarf using a basket weave piping tip, dipped the feet in chocolate and then green, red and white peril sprinkles
  • Gingerbread boys/girls - white icing for the face and hair, piped a little red heart on the chest, dipped the feet/dress bottom in chocolate and then green, red and white peril sprinkles
Every year I look forward to our annual Christmas baking tradition. Over the years it has gotten harder for us all to get together as I moved farther away and my sister had my little niece...but I'm glad we make time, during this special time of the year, to spend together baking beautiful treats to give to our family, friends and co-workers.

Wednesday, December 28, 2011

Merry Christmas!

Christmas cookie platter

Hope everyone had a wonderful Christmas! It's been a crazy baking month...so stayed tuned for more christmas cookies and treats! Here's a "taste" of what's to come...including shortbread decorated cookies and gingerbread men that I will post more close up pics of later.

Thursday, November 10, 2011

Animal Cookies

 Shortbread cookies with royal icing

 Pumpkin cupcakes with cream cheese frosting

Vegan vanilla cupcakes with soy buttercream frosting

For my little nephew's first birthday my sister chose a safari theme. So, I thought we could make little animal cookies. I have the little Noah's Ark animal cookie cutter set by Wilton and decided to make the giraffe, elephant, lion and zebra. For the cookies we piped yellow & orange for the giraffe, yellow & brown for the lion, blue & black for the elephant, and white & black for the zebra. While the base icing was still wet for the giraffe and zebra, we piped the spots/stripes, mane, eye, feet and tail. This allows for a smooth finish. For the lion and the elephant we let the base or body icing dry and set a little first before piping the rest of the details. My sister made the cupcakes and we just topped them with the little animal cookies. Everyone seemed to enjoy them and the little guy got to have his very own vegan cupcake to destroy!