background

Showing posts with label Baking. Show all posts

Wednesday, August 29, 2012

Bridal Shower "L" Cookies

 
 lemon butter cookies

For the bridal shower I also made scalloped circle cookies with a cursive "L" on them for the bride-to-be. I used a lemon butter cookie recipe from a "Southern Living" magazine my co-worker reads.  She saw these really cute valentine cookies in the magazine (a while ago) and brought the magazine in for me because she immediately thought of me when she saw them. It was really sweet of her...so I just had to try out the recipe and give her some.  Now I've saved the recipe and use it when I want to change things up from my usual shortbread cookie recipe. I thought these would be perfect for the bridal shower because they'd go with the lemon cupcakes.

Since the shower colors were green and white, I colored most of the royal icing green and left a little white for the letters and decorative dots.  I piped green circles about 1/4" from the edge of the cookie to create a dam for the green base. Once the dams set, I filled it with the green icing. While those were drying I worked on piping the "L" letters. I used the same technique as the spring flower cookies and created a template (trying my best to make a nice cursive "L"), cut out 1.5" squares of wax paper piped the "L" onto them with the template showing through under the wax paper. This helped me make them more uniform. Once the green base and the "L" letters dried, I used a little white icing to place the "L" letters onto each cookie. Then to add that extra decorative touch, I piped little dots around the green base. 

I loved the look of these cookies...so simple, yet elegant.   

Lemon Butter Cookie Recipe:

1c          butter, softened
1 tsp.     lemon zest
1c          powdered sugar
2c          all-purpose flour
1/2 tsp.  salt

Preheat oven to 325F. Beat butter and zest until creamy. Gradually add sugar, beat well. Combine flour and salt; gradually add to butter and sugar mixture, beating until blended. Shape dough into a disc. Roll dough to 1/8" thickness on a lightly floured surface. Cut into desired shapes with cookie cutter(s); place 1/2" apart on parchment paper lined cookie sheet. Bake for 12-14 minutes or until edges are lightly golden. Cool on racks and decorate!

Thursday, August 23, 2012

Lemon Cupcakes


lemon cupcakes

A couple of weeks ago my friend asked me to make desserts for a bridal shower she was throwing for her sister. It was my first "catering job"...not counting my family's parties that are like a catering job in itself with 50+ people!

She was really open to whatever I felt like making but did request the chocolate mint macarons I make. I originally thought to make the ombre cake (like the one I made for fourth of July but with shades of green and white) but decided on cupcakes instead. This way she wouldn't have to bother with cutting and serving the cake.

The shower colors were green and white, so I found green cupcake liners and kept it simple with white buttercream frosting.  I found this super simple lemon cupcake recipe that I used...tried it out the week before the shower and it was husband approved. For the vanilla buttercream frosting I used an Ateco 866 tip. I bought this tip a while ago and have been wanting to try it out for some time now.  I honestly don't make cupcakes much and took the opportunity to try this tip out...and I loved it!  They look like little flowers on the top of the cupcake.  You just pipe the buttercream holding the tip just above the center of the cupcake and let the buttercream push out of the tip onto the cupcake.  Then you tap the bottom of the cupcake on the counter or the palm of your hand to get the buttercream to spread out more. The only difficult part it getting the buttercream to pipe out even so the middle is nice and centered onto the cupcake. At the decorate shop I found clear plastic cupcake containers just like you would find at the store. They were perfect for my first catering job...so 'professional'...well, I try. 

Wednesday, July 4, 2012

Happy 4th of July!

 lemon chiffon petal cake
 crumb layer
red, white & blue frosting

8 layers!

I've been dying to try this petal decorating style on a cake ever since I saw it on the i-heart-baking blog. So, for 4the of July I decided to make a lemon chiffon cake and decorate it "petal-style" with red, white and blue frosting. I found this lemon chiffon cake recipe online a couple of years ago and it's so light and yummy.

First I made the cake (four 8" round cakes) and cut each cake in half to create 8 layers. I used a cream cheese whipped cream frosting and put a thin layer of frosting between each layer. Then I put a thin layer of frosting over the entire cake to create the crumb layer. I put the crumb layered cake in the fridge while I separated out the frosting, colored the red and blue and put them into piping bags. Then it was time for the fun part...decorating!

To make the petals you pipe dots in a single column and then smear the dot from the center. Here's a great tutorial on how it's done. This process does take some time but my husband helped me speed up the process. I piped and he smeared. We found that once you've established the first few columns, it is faster to do the entire row(s) of the one color at time, instead of going down each column. This makes it much easier because you don't have to take as much time cleaning off the spreader used to smear the dots (minimizing color contamination).

Overall the cake turned out really well. I do need to work on the spacing between petals and I think next time I'll use a buttercream frosting for the petals instead of a whipped cream based frosting.  This should make it look a little more clean...but I just love whipped cream! So, it might look better with the buttercream but I'm not sure if it'll taste as good.

Hope you all had a wonderful 4th of July!

Saturday, June 30, 2012

S'mores bites


 s'mores bites


For the Fourth of July, I found the cutest red, white and blue goodies that I just had to get for my little niece and nephew. I found the blue and red pails and sunglasses from Target (gotta love that $1 section) and mini pinwheels from Michael's (gotta take advantage of those 40% off coupons). I also got one of those $10 coupons from Kohl's and found the cutest little red, white and blue baby doll top for my niece and plaid shorts for my nephew (sorry they're rolled up in the pails so you can't see them). And of course as an added personal touch I had to bake a little something for them!...even though they're not even 2 yet and can't eat the treats I make...my sisters and brother-in-laws can enjoy them.

For the s'mores bites I used this s'mores bars recipe I found from the "Hostess with the Mostess" blog. Since the pails were so small I didn't think the bars would fit well, so I decided to try to make them bite size. For the bites I took the graham cracker crust and pressed it into a mini muffin pan. I baked it for about 7-8 minutes until it was slightly golden brown. Then I melted the chocolate (I used candy coating from Fred Meyer's because that's what I had on hand and I wanted to use it since it's been in my pantry a while). Next time I think I'd prefer dark chocolate, but this was definitely the classic s'mores with milk chocolate. After spooning the chocolate on I placed a marshmallow star on top. I found the red (more like pink), white and blue marshmallows at Walmart. They come in varying sizes too. After I put a marshmallow on each s'more bite I put it in the fridge to let the chocolate set. Since I was in a little bit of a rush to get these packaged, I just put it in the fridge for about 5 minutes. Then, I put it under the broiler for 1-2 minutes and kept a close watch on them, until they were nicely browned. After that I put it back in the fridge for 5-10 mins to make it easier to pop them out.

These were really simple and added that little touch to make their little Fourth of July packages extra special. Maybe next year they'll be old enough to really enjoy them. 

Happy 4th!


Tuesday, April 24, 2012

Spring Flower Cookies

 spring flower cookies

Spring has finally arrived! Last weekend we had such beautiful weather and what better way to add some sunshine inside than making a colorful platter of flower shortbread cookies! Ok, I did get outside and enjoy the sunshine too...

For the cookies, I used the same dough as the Easter cookies (this shortbread cookie recipe from sweetopia). I also got the inspiration for this cookie from sweetopia. On the blog she made daisy cookies in which she made royal icing transfers.

First I made a template for my flower on a piece of wax paper, using edible marker, but looking back at it I could have just as easily drew it on a piece of paper and used a regular pen. I then suran wrapped over it to make it stay on the counter. I usually suran wrap my counter top to make a nice clean surface for me to work on...and it makes it so easy to clean up. Gotta love that costco suran wrap...it's practically endless!
Once I had my template. I cut out squares of wax paper for each flower and wiped some shortening on them so the flowers would easily come off. The wax paper is kind of opaque so the template shows thru nicely. I then piped the flowers on each piece of wax paper using pink, yellow, lavender and green royal icing. While the flowers were still wet I put a pearl sprinkle in the center of each one.
While the flowers were drying I piped a circle on the fluted circle cookies, leaving about a 1/8" border and filled with with white icing. Once the white set a little, I piped little dots with the correponding flower colors around the white circle to add a decorative touch. Then it was the moment of truth...I carefully peeled the flowers off the wax paper, piped a little icing on the back and adhered it to the center of the cookie.
With all the cookies together it looked like spring! It was so much fun making these and I really liked this technique of making icing transfers. Thanks again sweetopia!

Sunday, April 22, 2012

Carrot cupcakes


carrot cupcakes


Also for Easter I made some mini carrot cupcakes. With the Easter cookies, I kind of ran short on time and decided to take a little shortcut and use the betty crocker mix for make these cupcakes. Just didn't have enough energy to shred all those carrots...

However, I do like the mix too. It's very light and not too sweet. I frosted half the cupcakes with a whipped cream/cream cheese frosting (only frosted half because I actually prefer it without the frosting, but my husband would disagree). For the carrots I used the orange wilton tube icing (this tube frosting has come in handy for these little carrots and the beaks for the thankgiving turkey cupcakes). The tube icing is very stiff which is good for adding the little ridges for the carrots, but it is tough on my hand muscles. I just used a little bit of the cream cheese frosting and tinted it green for the stems.

I found cute stripped mini cupcake liners at World Market but I'm always a little disappointed when I bake up the cupcakes and can barely see the print on the liners anymore. Wish there was a trick to ensuring the print will show through...

These cupcakes were so simple and easy to make. Next time maybe I'll muster enough energy to try it all from scratch...

Saturday, April 14, 2012

Happy Easter!

easter shortbread cookies

For Easter I decided to try out this shortbread recipe I found on the Sweetopia blog. She does the most amazing decorate cookies. I was really excited to try her shortbread cookie and icing recipes and compare them to the ones I've always used before. I have to admit I've been a little obsessed with her blog. I'm just in awe of how amazingly perfect her cookies are!  I strive to be as good of a cookie decorator as her...someday.

So, for Easter I decorated eggs!...egg shaped cookies that is. Using pastel pink, violet, yellow and green I decorated the eggs in white polk dots and flowers. I piped a little dam about 1/8" from the edge of the cookie then filled it in with corresponding colors. Before the base layer set I piped white polka dots. For the flowers I piped the yellow centers and five white dots (petals) around the center. I then took a toothpick and dragged the white dots in a semi-circular motion towards the yellow center to create petals. I found that shaking the cookie (gently) really helps the polka dots and flowers to settle in nicely into the base color to make a nice smooth finish. A toothpick is also a great tool to help pop any tiny air bubbles.

For the bunnies, I iced them all white and piped a little black eye using the wilton tube icing. I have to say, this has been great to have on hand because I don't have to make a little bit of black icing for tiny eyes (ie. the elephant cake). Black icing is not fun to make...it uses so much food coloring! For the tails I piped a little white tail, after the base layer set, and used yellow sanding sugar to add that fluffy tail texture and some color.

Sorry in the picture I only had one flower cookie left...I was a little delayed in getting my photoshoot together and some didn't make it to the shoot). But, I liked the polka dot ones better anyway. Needless to say I really enjoyed making these and the cookies taste great. They are more crumbly and delicate than the shortbread cookies I usually make but I love how light and melt in your mouth they are. The icing recipe was great too. Thanks Sweetopia!

Hope everyone had a happy Easter!

Saturday, March 17, 2012

Happy St. Patrick's Day!

 
 clover cookies

For St. Patty's Day I wanted to make these cute clover cookies I saw on Martha Stewart's website. I'm usually more of a shortbread than a sugar cookie fan, but I thought I'd give this recipe a try.  Plus, I haven't made sugar cookies in a really long time. I used the template from the website. However, since I couldn't just use paper to put on the cookies, I used a plastic disposal lid (had one laying around from a costco calzone container) to cut out the clover shapes. They worked out really well because the lip of the lid provided a nice handle to easily lift the stencil off the cookie.  Also, it's great because I can wash them and save them for next year!  I used a scalloped 3.5" circle cookie cutter to add a little decorative touch. My mother-in-law helped me sprinkle all the clovers on the cookies. (Thanks mom!)

I was suprised how well the clovers came out on the cookie and how little the sugar actually melted once baked.  After we baked them all up I packaged a few up in a clear cellophane bag and put a nice green bow on it for my Uncle's birthday. As for the rest of them...let's just say a leprechaun is a big fan of these cookies.

Happy Birthday Uncle Clay!

Monday, February 13, 2012

Happy Valentine's Day!


triple chocolate mousse cake

Happy Valentine's Day! Last weekend we had a Valentine's Day dinner at my in-law's house and I wanted to make a special dessert just for the occasion. I decided to make this triple chocolate mousse cake I saw on the i-heart-baking blog. I had to search a little for the recipe but I found Ina's chocolate cake recipe on the foodnetwork website and the mousse recipe from annie's eats blog. Using a triple heart cupcake stencil and red sugar sprinkles I decorated the cake with some valentine decorations.  I found the little cupcake stencils (packet of four different patterns with hearts and valentine sayings) in the dollar section at Target.  The only problem was I couldn't keep the sprinkles from getting everywhere...so it turned out a little messier than I had hoped. Overall, the family got the picture and the cake was divine. This recipe is definitely a keeper.

Hope you all have a wonderful Valentine's Day!

Monday, January 23, 2012

Happy Chinese New Year!

red bean french macarons

For Chinese New Year I wanted to make something a little different and special. I decided to make red and white french macarons with Chinese characters on them and fill them with red bean buttercream. My mom helped me write the Chinese characters.  She was so fast and writes so well, probably because I can't read or write...just decent at copying. The characters on the red macarons (from up, down, left, right) say "Sun Nin Fay Lok" (Happy New Year) and "Gung Hay Fat Choy" (Best wishes and Congratulations. Have a prosperous and good year). The characters on the white macarons say "Fook" (Happiness). 

Happy Chinese New Year! Wishing everyone good health, peace, and happiness in the new year.

Sunday, January 15, 2012

Baby Elephant Cake

front side view

 
top view

fondant elephant and balloon

My friend asked if I could make a baby cake for her son's first birthday...and of course I accepted! The theme was baby elephants and the colors were blue and grey. I based the design on the invitations which had a little elephant holding a balloon with a "j" for Jacob on it and a poka dot background. I thought it was so cute and it'd be perfect to try to mimick onto the cake.

First I wanted to make a cake that was baby friendly and found this vanilla cake recipe from "Momtastic's Wholesome Baby Food" website. I used two mini 3.5" springform pans to make the cakes, trimming off the tops to make the top flat. For the elephant I rolled out blue fondant and used the mini elephant cookie cutter from the Wilton Noah's Ark set I had (see the "Animal Cookies" post).  For the ear I just used the back side of the cookie cutter to cut a little ear and used a knife to cut a small thin tail. For the balloon I rolled out green fondant and used the back end of a piping tip to get a nice little circle.

I made vanilla buttercream frosting and frosted the entire cake with a thin crumb layer to set overnight before I put the final coat of buttercream on.  This keeps the cake moist and makes it so much easier to get a nice smooth finish. Using a size 1 wilton round tip I piped the string to the balloon and a "1" on the balloon. I decided to put a "1" on the balloon instead of the "j" since I'd be putting his name on the cake. Using a size 10 wilton round tip I piped dots around the bottom of the cake to make it look more finished and adding a decorative touch. I then tinted the buttercream grey (using a little black food coloring) and piped "happy birthday jacob" on it. 

The cake turned out so cute and my friend really enjoyed it...Jacob enjoyed destroying it too!

Sunday, January 8, 2012

Fruit Tart

strawberry & kiwi fruit tart

For Christmas I wanted to make something different because I figured we'd have plenty of cookies and pies. I decided to make a fruit tart with strawberries and kiwi for the festive red and green colors...just wish the strawberries were more red. It's tough this time of year.

I used Martha Stewart's strawberry tart recipe but added chocolate ganache as a bottom layer before adding the cream cheese filling.  I've used this recipe before and I just love it.  The crust is lovely, buttery, and shortbread like.  I thought the chocolate would add another little something special, because who doesn't love chocolate.  But, as it turned out, the chocolate ganache ended up taking over the cream cheese and fruit flavors.  I think I made the mistake of using dark chocolate and maybe using too much ganache. Next time I'll try using semi-sweet chocolate and just a thin layer of the ganache.  Overall though, everyone seemed to enjoy it. 

Monday, January 2, 2012

Go Ducks!

UofO french macarons

Happy New Year everyone!

Today the (University of Oregon) Ducks are playing against Wisconsin in the Rose Bowl.  For the big game I wanted to make a special little treat.  At Christmas I made the peppermint macarons (see the "Christmas Macarons" post) and my dad had the great idea of making them yellow and green for the Ducks! There are quite a few Ducks in our family and my parents were heading down to Pasadena for the game.  So, I thought I'd make these macarons for them to take down for the game. 

I used the same recipe I've been using for the macarons and just like the peppermint and snowmen macarons I divided the batter and colored one batch yellow and the other green. Using green edible marker I drew an "O" on the yellow macarons. For the green ones I used black edible marker and wrote "Go! Ducks" on them.  All the macarons are filled with dark chocolate ganache. These were really fun to make and I hope everyone enjoys them.

Go Ducks!

Update: The Ducks pulled through today! It was a tough game but in the end we "won the day". It's a good day to be a DUCK!

Sunday, January 1, 2012

Reindeer Cookies


  peanut butter reindeer cookies

ingredients for reindeer assembly

I saw these really cute reindeer cookies from the bakergirl blog (via pinterest) and just had to try and make them.  But I do have a confession, I didn't use her recipe. I used bettty crocker's packaged peanut butter mix (semi-homemade for a girl with time constraints).  Next time I will try her recipe though because I found the cookies didn't hold their shape as nicely as hers and weren't as smooth.  Nevertheless, they tasted just fine.

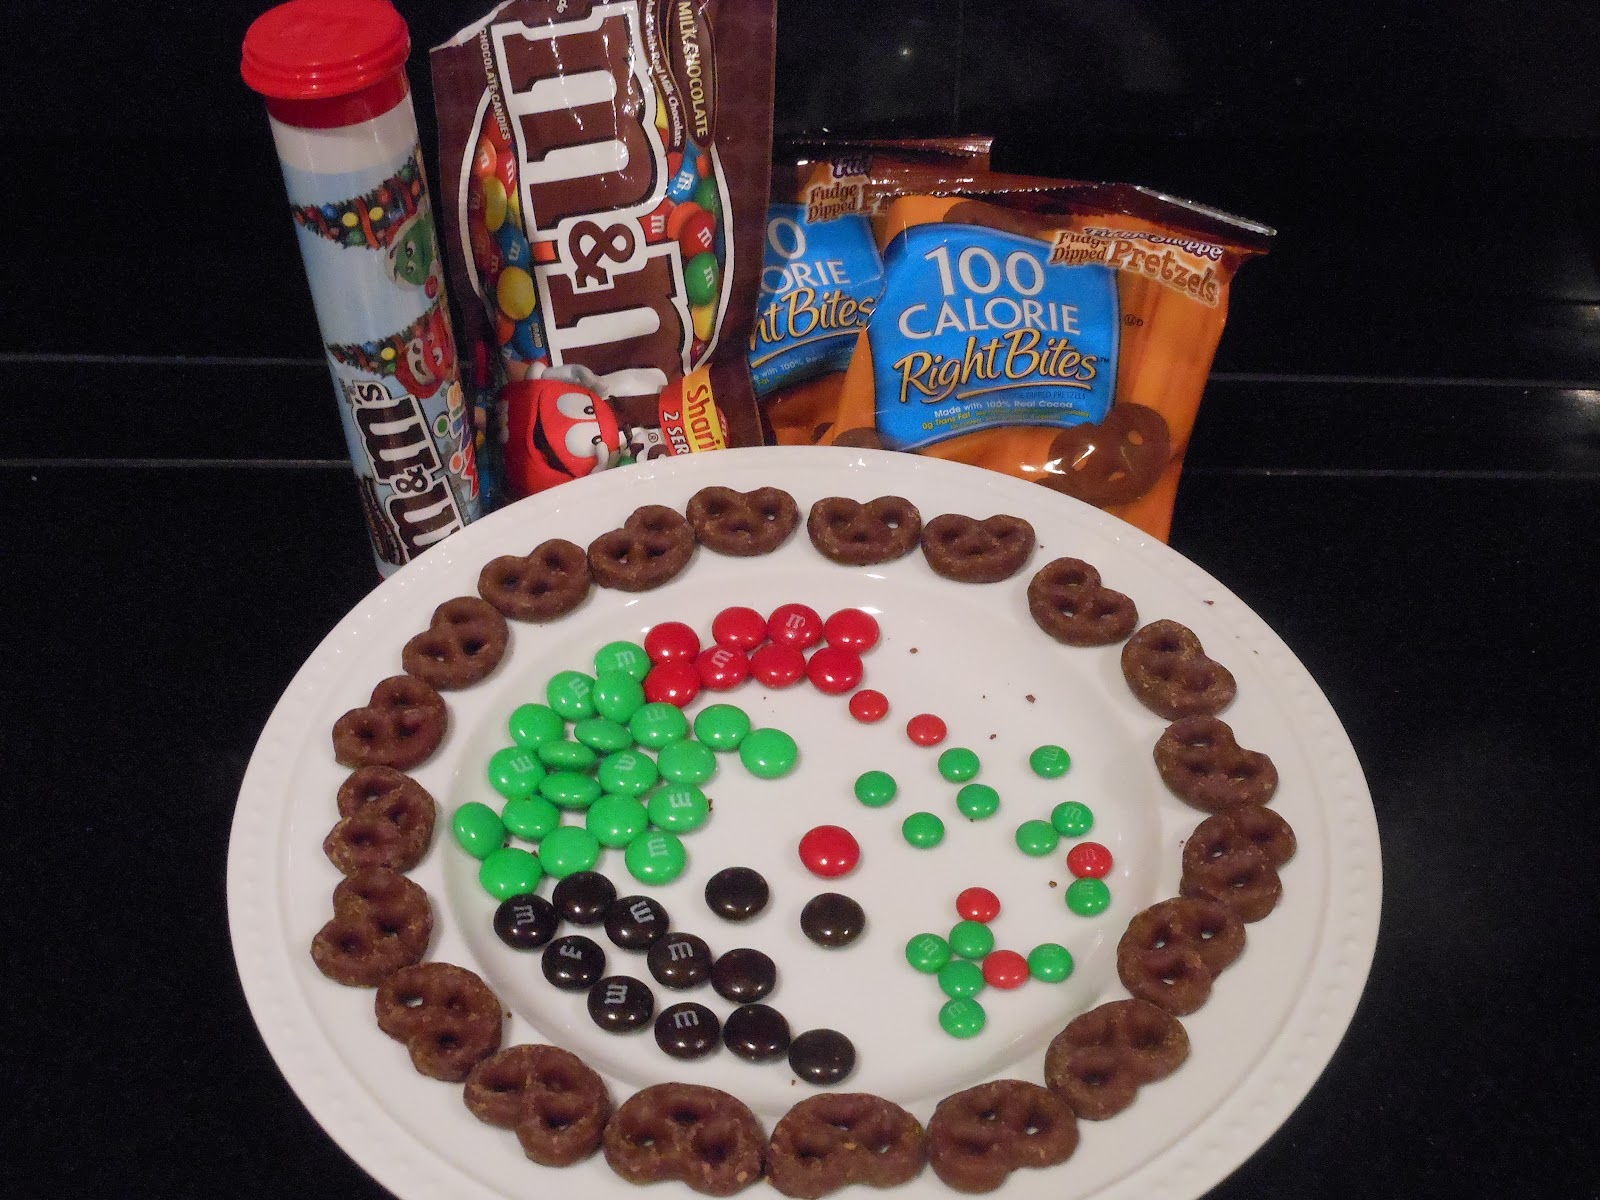
To make the faces I rolled the dough into approxiately 1" balls, pinched the bottom half of the dough ball and then flattened it a little with the palm of my hand.  I baked them according to the package directions and once I pulled them out of the oven (while they're still warm) I assembled the antlers and face.  I had some trouble finding the mini m&m's but found a bottle at Walgreen's.  The only problem was when I opened the bottle it was all red and green mini m&m's.  I needed mini brown ones for the eyes, but I was able to use the regular sized ones. I bought the larger bag of m&m's but there were only 9 red ones in the whole package, so there were a few with green noses. I did run out of brown ones too, but luckily I still had some reese's pieces from when I made the turkey cupcakes (see the "Happy Thanksgiving!" post).  The reese's pieces are a shade lighter than the brown m&m's but probably only I could tell the difference. 

Saturday, December 31, 2011

Christmas French Macarons

peppermint macarons

snowmen & penguin macarons

I really wanted to make french macarons again, but for Christmas I wanted to figure out some creative way to make them more Christmas-y. At walmart I found a bag of Andes Peppermint Crunch (they're the Andes mints that you sometimes get at the end of a meal at restaurants like Olive Garden...but these were peppermint and in little crushed pieces). I thought these would be perfect for the macarons.

Just like the jack-o-lantern macarons, I used this recipe I found on Bakerlla's blog.  The only difference is instead of grinding up almonds in a food processor I use almond meal (from Trader Joe's).  I found this really cuts down the time and the pain of trying to get the right consistency of ground almonds and then trying to sift them when they're freshly ground from the food processor. It was difficult because you can easily grind the nuts just a little too much and turn it into almond paste or not grind the nuts enough...both of which make it impossible to sift.  So, based on my limited experience, I found the almond meal works best for me.  Just make sure to sift it first then measure it out.

For the peppermint macarons I made the batter and divided it into two to add the red food coloring (I wish I had made them more red...they turned out more hot pink). I filled them with the chocolate ganache and then sprinkled the peppermint crunch on the outer part of the chocolate ganache before sandwiching it with the top macaron. They turned out pretty cute and festive but I do need to work on making my macaron sizes more uniform...that's the hard part!

For the snowmen/penguin macarons I just piped two rounds close to each other so they'd run into each other as they spread out a little. When they baked up I had a body of a snowman (one looked like a penguin to me)! I used orange rainbow chip sprinkles for the nose/beak, edible marker for the eye/buttons/penguin body, and piped the scarves/bow tie/feet with tube icing.

Friday, December 30, 2011

Christmas cookies

 shortbread decorated snowflake
 shortbread decorated snowmen and mittens
(oops these weren't quite done...missing the fuzz on the bottom) 
 shortbread decorated polar bear
 shortbread decorated snowman
 gingerbread man
mini gingerbread girls and boys

Every year my sister and aunt get together and have a Christmas cookie baking weekend.  Here are some pics from our cookie baking bananza.  We make 10 different kinds of cookies (see "Merry Christmas!" post for a pic of all the cookies on a platter).  These cookies include shortbread decorated cookies, gingerbread men/girls/boys, chocolate krinkles, butterballs, toasted fingers, almond refrigerator cookies, coconut macaroons, rhonda rolls, gingerbread biscotti, and dolly bars.

For the shortbread cookies we make:
  • Snowflakes - white icing base with docorative white piping, sanding sugar and a silver peril in the middle
  • Snowmen - white base for the body, red or green scarves, green "x" buttons and a black hat with a holly on it (we used holly shaped sprinkles instead of piping)
  • Red mittens - red base with white piped decorative snowflake and using a grass tip we piped a white fuzzy bottom (sorry I forgot to get a picture of the mittens when we were done piping the fuzzy bottom part)
  • Polar bears - white base, docorative white piped snowflakes, sanding sugar and a holly/maile lei around his neck 
For the gingerbread people we make:
  • Gingerbread men - white icing for the face and hair, green scarf using a basket weave piping tip, dipped the feet in chocolate and then green, red and white peril sprinkles
  • Gingerbread boys/girls - white icing for the face and hair, piped a little red heart on the chest, dipped the feet/dress bottom in chocolate and then green, red and white peril sprinkles
Every year I look forward to our annual Christmas baking tradition. Over the years it has gotten harder for us all to get together as I moved farther away and my sister had my little niece...but I'm glad we make time, during this special time of the year, to spend together baking beautiful treats to give to our family, friends and co-workers.

Wednesday, December 28, 2011

Merry Christmas!

Christmas cookie platter

Hope everyone had a wonderful Christmas! It's been a crazy baking month...so stayed tuned for more christmas cookies and treats! Here's a "taste" of what's to come...including shortbread decorated cookies and gingerbread men that I will post more close up pics of later.

Monday, December 5, 2011

Happy Thanksgiving!


Thanksgiving came and went so fast and it's been so hectic since then I haven't  had a chance to post my Thanksgiving cupcakes until now! For turkey day I wanted to make these turkey decorated cupcakes I saw from the i-heart-baking blog. The challenge was to find candy corn after Halloween.  Luckily I found them at Winco still in the bins...so I could get just what I needed.  I made pumpkin cupcakes (adapted from Paula Deen's pumpkin bars) with cream cheese frosting. 

For the decorative base I piped the frosting with a size 16 ateco star tip. For the body I added cocoa powder to the cream cheese frosting, put a cupler in the piping bag without a tip and piped a little round circle about the size of a quarter. For the head I used yellow reese's pieces, edible marker for the eyes and, since I didn't have rainbow chip sprinkles, for the nose I piped a little orange beak with a size 3 wilton tip and orange wilton icing in the tube. The waddle is a heart sprinkle upside down. And of course for the feathers I used the candy corn. They turned out really cute and everyone seemed to enjoy them. Hope you all had a wonderful Thanksgiving.  With Christmas just around the corner...let the Christmas baking begin!

Thursday, November 10, 2011

Animal Cookies

 Shortbread cookies with royal icing

 Pumpkin cupcakes with cream cheese frosting

Vegan vanilla cupcakes with soy buttercream frosting

For my little nephew's first birthday my sister chose a safari theme. So, I thought we could make little animal cookies. I have the little Noah's Ark animal cookie cutter set by Wilton and decided to make the giraffe, elephant, lion and zebra. For the cookies we piped yellow & orange for the giraffe, yellow & brown for the lion, blue & black for the elephant, and white & black for the zebra. While the base icing was still wet for the giraffe and zebra, we piped the spots/stripes, mane, eye, feet and tail. This allows for a smooth finish. For the lion and the elephant we let the base or body icing dry and set a little first before piping the rest of the details. My sister made the cupcakes and we just topped them with the little animal cookies. Everyone seemed to enjoy them and the little guy got to have his very own vegan cupcake to destroy!